

Shrink It Down.
Reduce VRAM usage for fun and performance.
Why to Compress?
Optimization is the key word here - a few packs use outsize textures where they aren’t needed, taking up tons of VRAM and storage space that they don’t need to.
I would only recommend using it on a pack like Fallout 3 HD or the larger landscape packs (Legacy or Nutscapes).
We will be using a piece of software called Ordenador - most of the features of this software are broken and should not be used, however the specific function we will be using here is safe and functional. I don’t recommend experimenting.
DO NOT EVER USE THIS PROCESS ON UI MODS OR MODS CONTAINING UI TEXTURES THAT YOU INTEND TO USE.


Step the First
Start with creating a working folder somewhere on your hard drive. Speed doesn’t really matter in the long run, but the process will take longer on a longer drive.
You will need approximately 3x the space of the pack you are working with total.
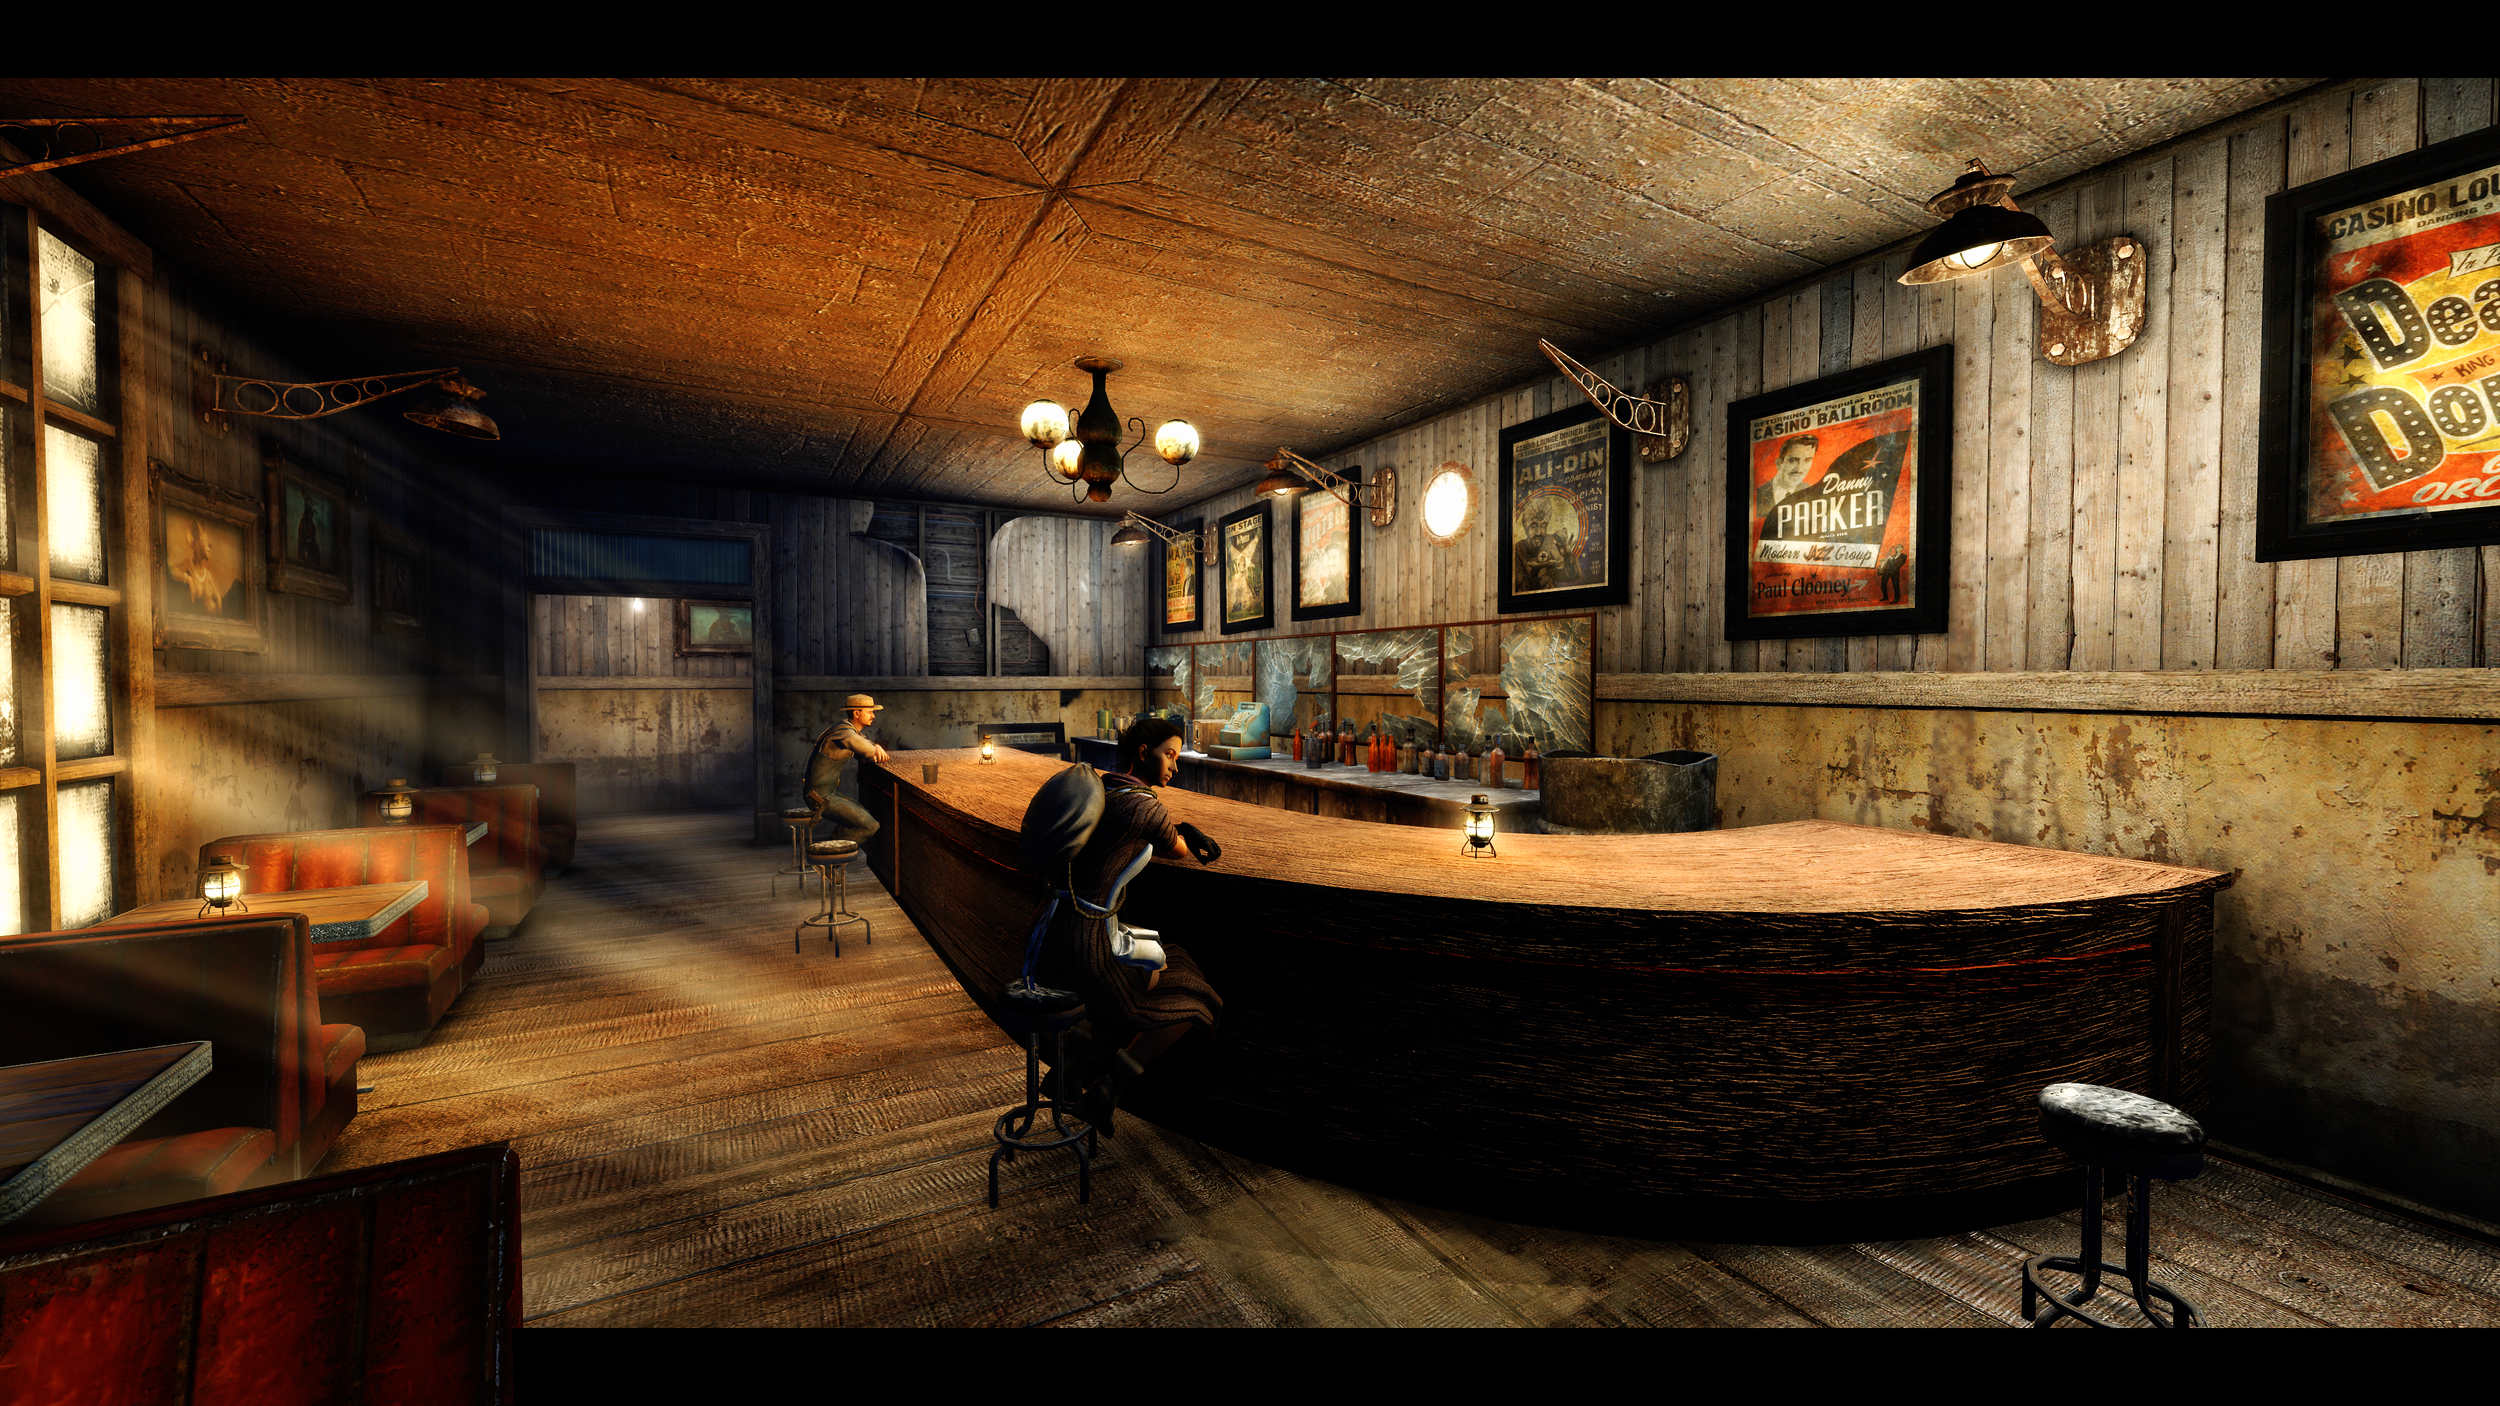
After creating the working folder, download both Ordenador and the texture pack you are planning to shrink - this example uses Fallout 3 HD Overhaul for illustration.

Next…
Unzip/extract both Ordenador and the texture pack into your working folder.
If you are very tight on space after extracting, you can delete the original archive. However, I do recommend hanging on to it until the process is complete in case of any issues.
Pause for Cleanup
If you are using this process for the Fallout 3 HD Pack, now is a good time to refer back to the RENOVATION section - you can delete the LOD-related folders and anything else recommended to save time in the shrinking process.

Starting the Process
Now, go into the Ordenador folder you extracted, and run the executable.
Make sure you selected ONLY the option shown. Anything else will wreck your day.
To select the folder to shrink, click the “folder” icon near the top and select the “Data” folder inside your extracted texture pack folder. See picture for examples.
This example reduces everything larger than a 2k texture down to a 2k texture. You may change this to the 1k option instead if desired, but it is generally not needed.
Click “Start” - I recommend selecting “No” when asked to create backup, as long as you’ve saved the originally downloaded texture pack.
Pause for Waiting
This process will take a while - let it work.
It will place all the resized files back in their original location.

Next…
The reverse of where we started. Re-zip the files we just downscaled into a fresh archive for easy installation into your mod manager.
There is an additional advanced process to shrink things more below - if you are adventurous, self-starting, and living the true low-spec life, check that out before re-zipping the output.
Add using your mod manager of choice, and you’re done!
And that’s That…Unless
THIS SECTION IS FOR ADVANCED USERS AND I DO NOT OFFER SUPPORT.
Additionally, you can downscale the normal, environment, glow, and other texture maps to smaller sizes without sacrificing quality - typically these can be half the size of the standard texture with no issues.
The process will be the same as above, just setting them to half the size.
In order to resize just these files, you’ll need to grab all the files with the following suffixes -
_p.dds
_g.dds
_e.dds
_m.dds
You will want to move these to a new working folder using xcopy:
Create a second “optimizer” folder in your working folder.
Click on the Windows Search button and type "CMD" without the quotes and hit enter. It should open a terminal window.
Type "xcopy" and press space once - now drag and drop your original folder inside this window.
Add "\*_n.dds" at the end of the folder struct.
Locate your new “optimizer” folder, press space again and drag and drop that folder into the terminal window.
Hit Space and enter /s at the end
Your cmd should now look similar to this (paths will vary based on your working folder):
xcopy X:\Original Folder\*_n.dds X:\Optimizer /s
Repeat this step for "_m.dds" "_e.dds" "_g.dds" "_p.dds"
After that, simply repeat the original process on this new folder, using a size half of that you used previously (i.e. if you used the 2048 option previously, use 1024 now).
After complete, merge the Optimizer folder with your other downscaled folder, zip and install as above.
Thanks to Anro for prototyping this guide and method.